
Engraving cuts shallow lines into a flat stone face; CNC relief carves raised and recessed areas to a controlled depth from a digital design; 3D carving goes deeper and models forms in the round, often with hand finishing. Inlay sets different stones into the surface. Choose by how much depth and detail the design needs and how the wall will be lit and viewed.
The four techniques in plain terms
Carved stone walls are described with overlapping terms, and suppliers use them differently. This guide uses the following meanings, which match how we label designs in the Stone Emotions library.
Engraving
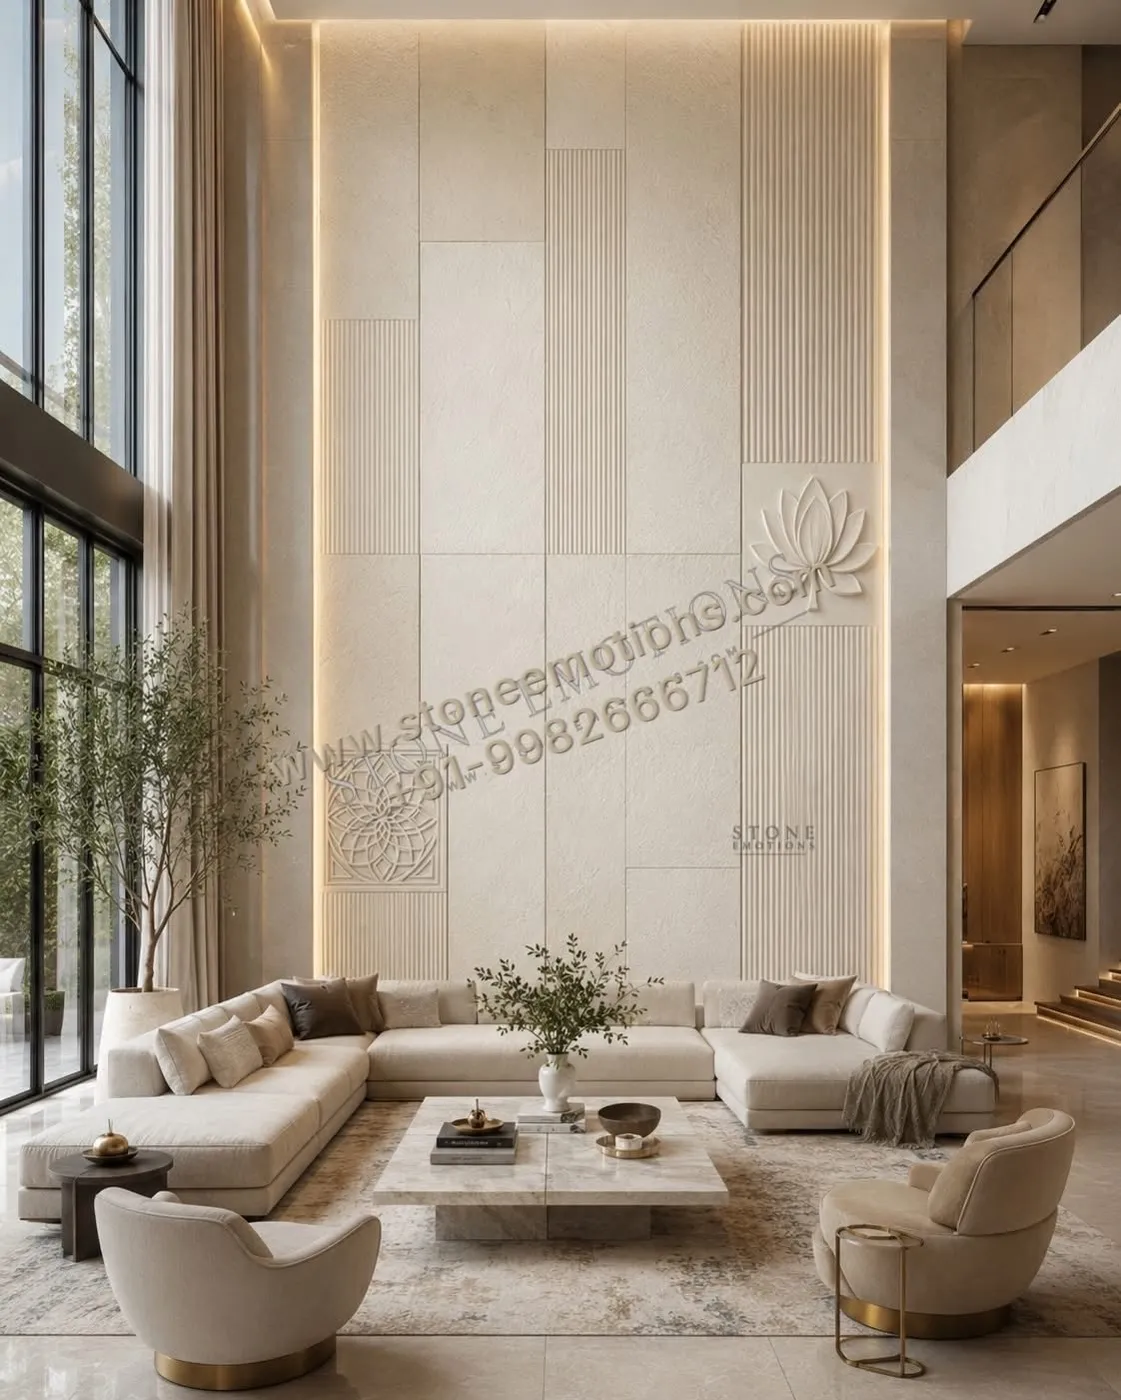
Lines, outlines or shallow textures cut into an otherwise flat face. The stone surface stays essentially level; the design is drawn rather than modelled. Engraving is subtle, works well in calm interiors and mandir backdrops, and depends on side lighting to be seen clearly.
CNC relief
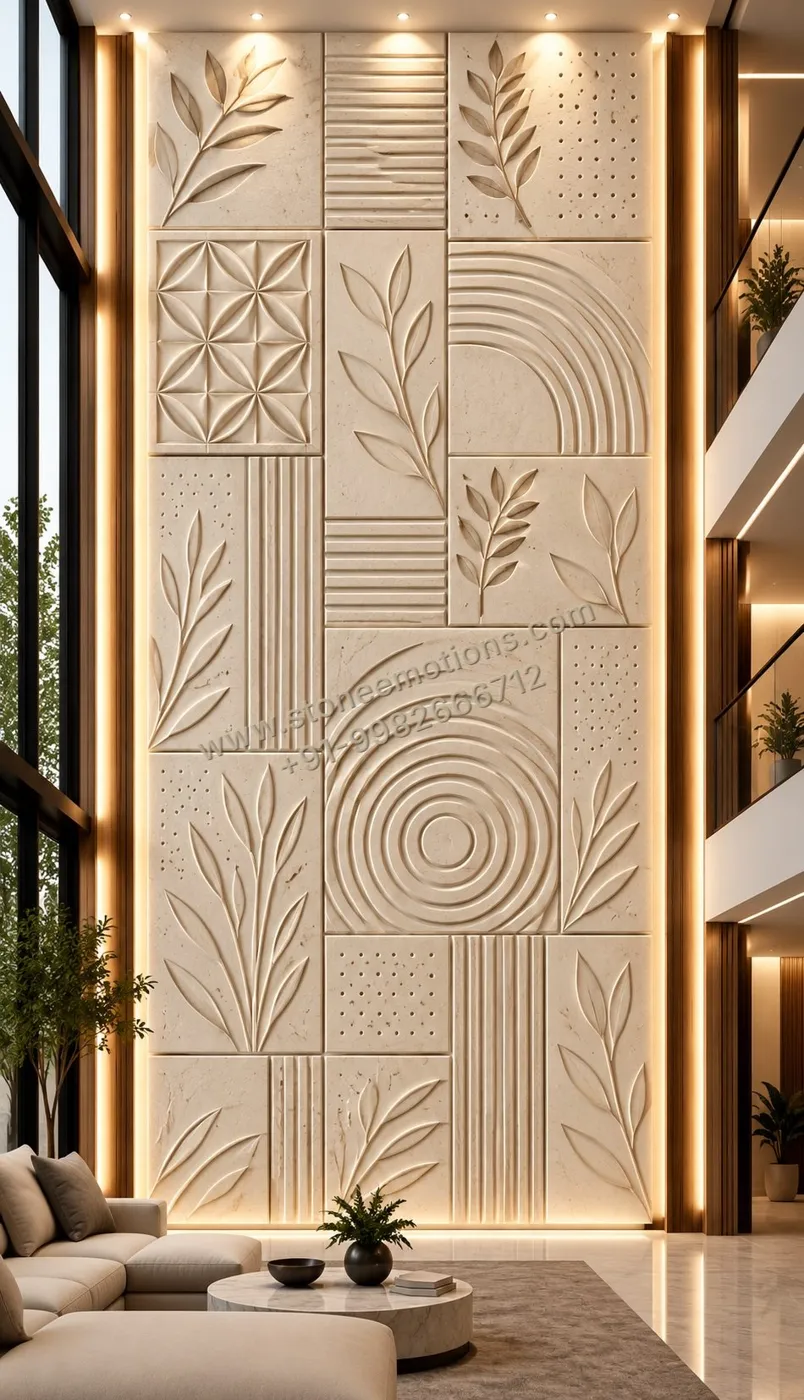
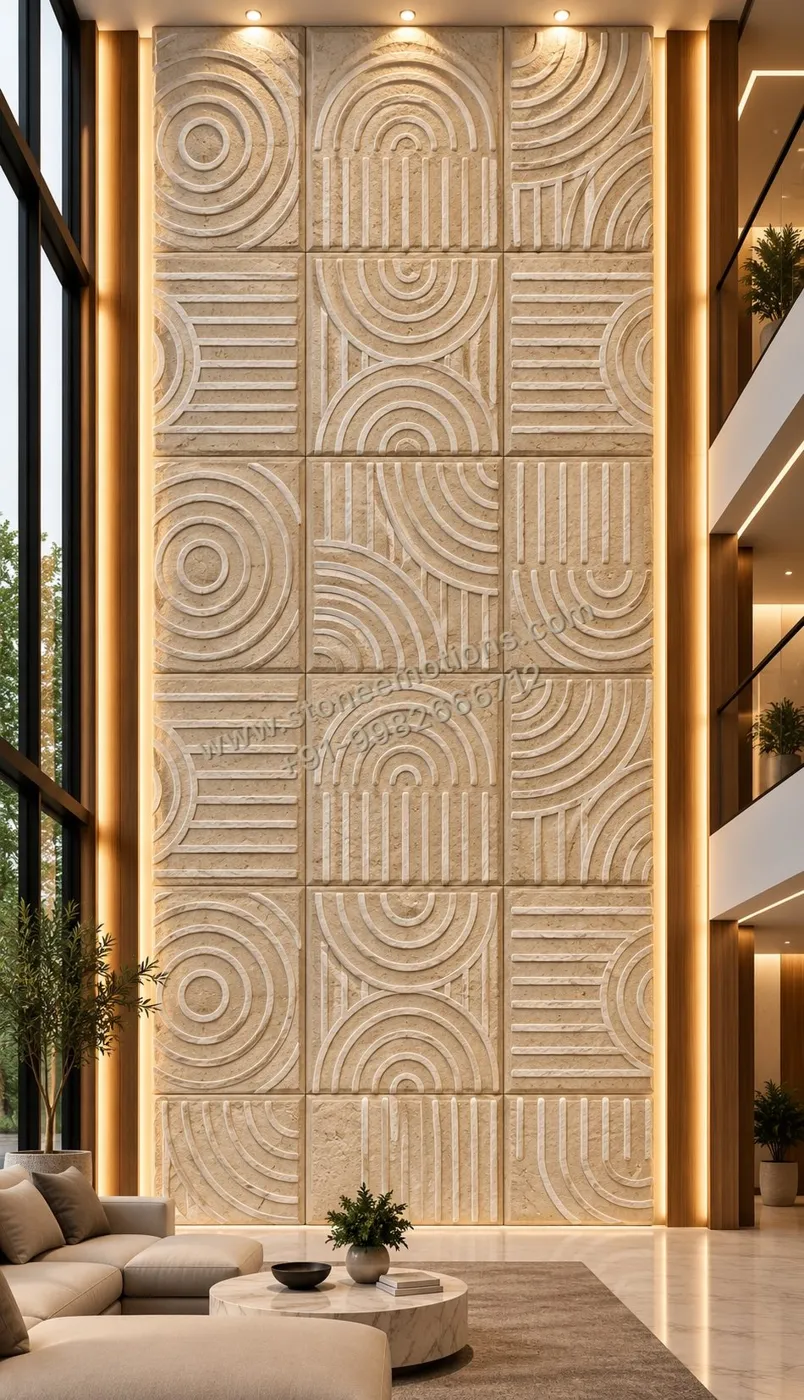
A computer-controlled router follows a digital model to cut raised and recessed areas to set depths. Relief is the most versatile technique for geometric patterns, botanical motifs, repeated modules and large compositions split across many panels, because the machine reproduces the drawing accurately and consistently across joints.
3D carving
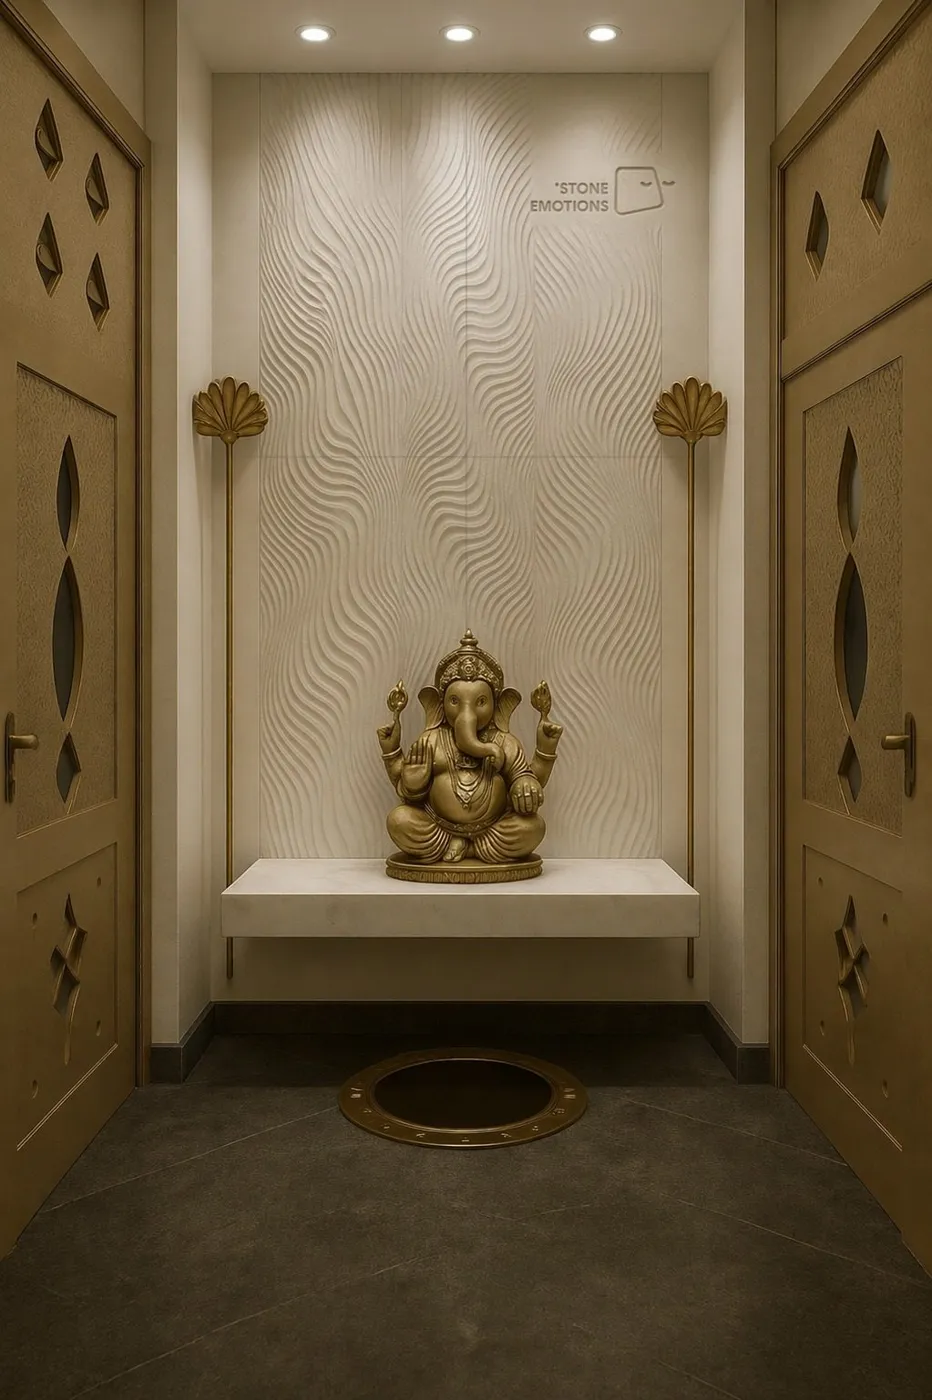
Deeper sculptural modelling — flowing waves, figures, faces, leaves that curl off the surface. It typically starts with CNC roughing and is refined by hand for undercuts, soft transitions and expression. 3D carving gives the strongest shadows and the most dramatic effect, and needs thicker stone.
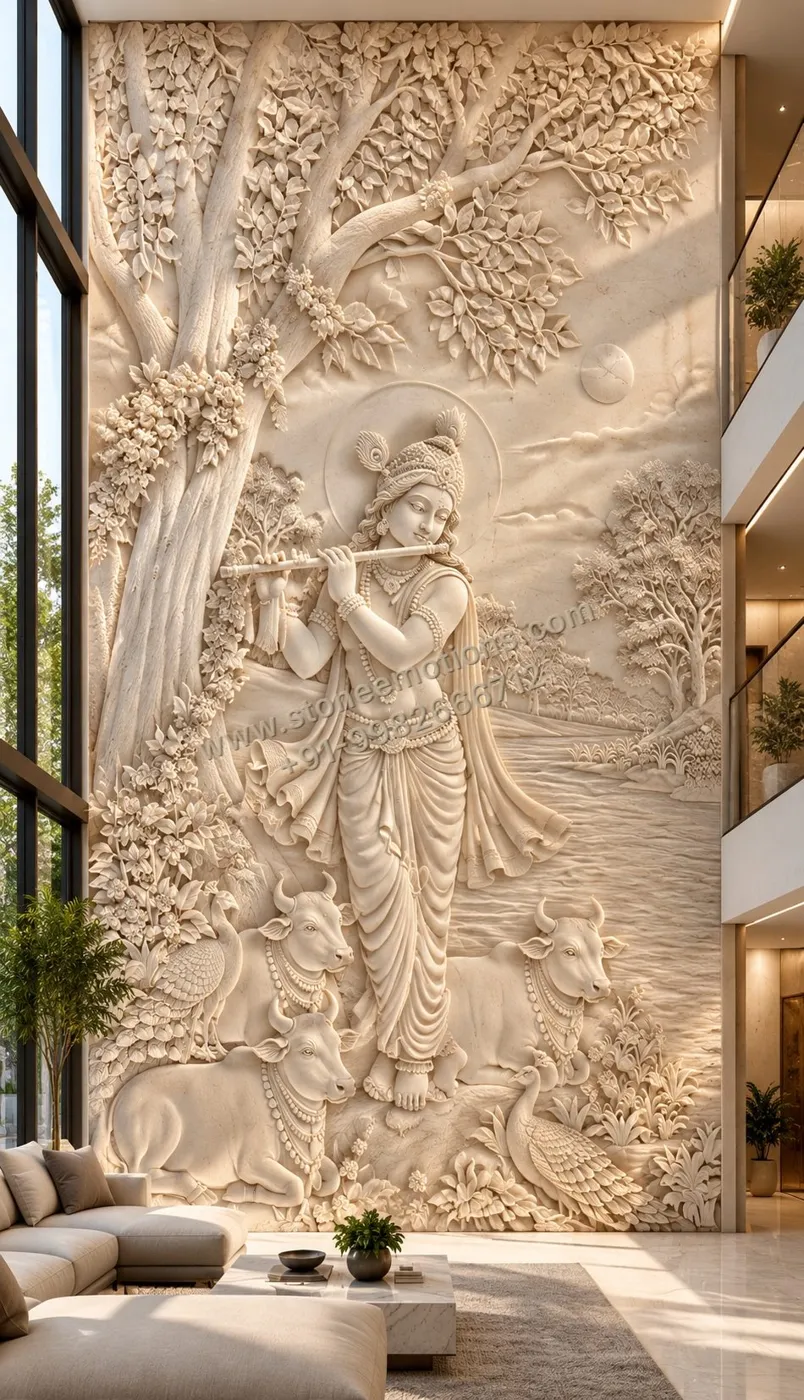
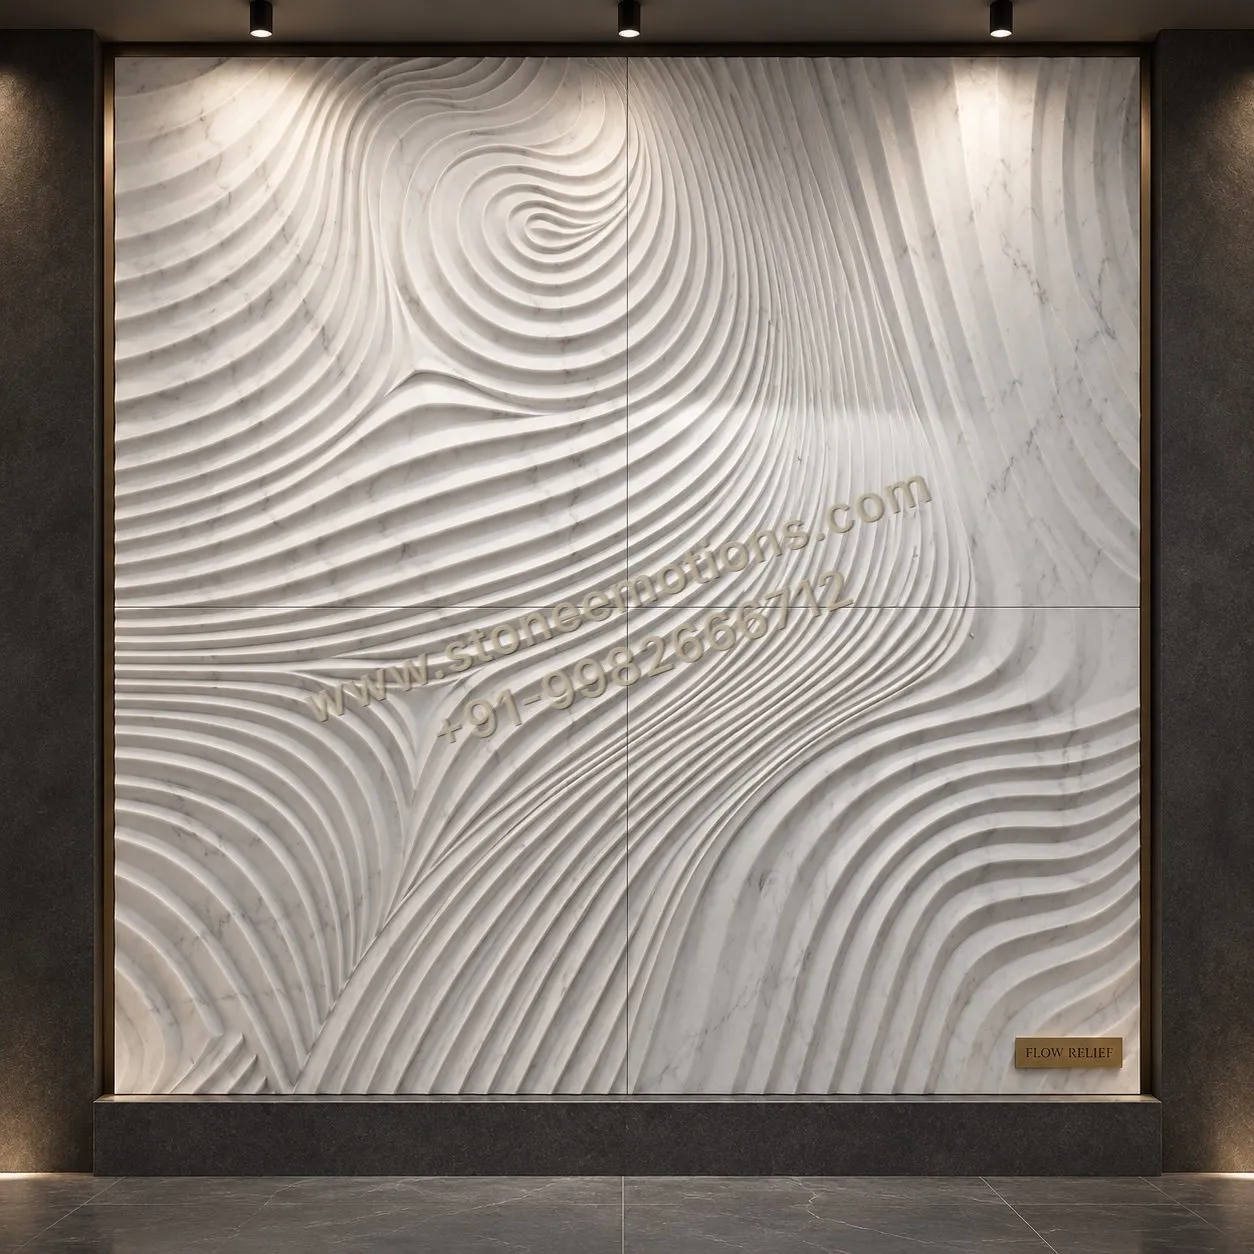
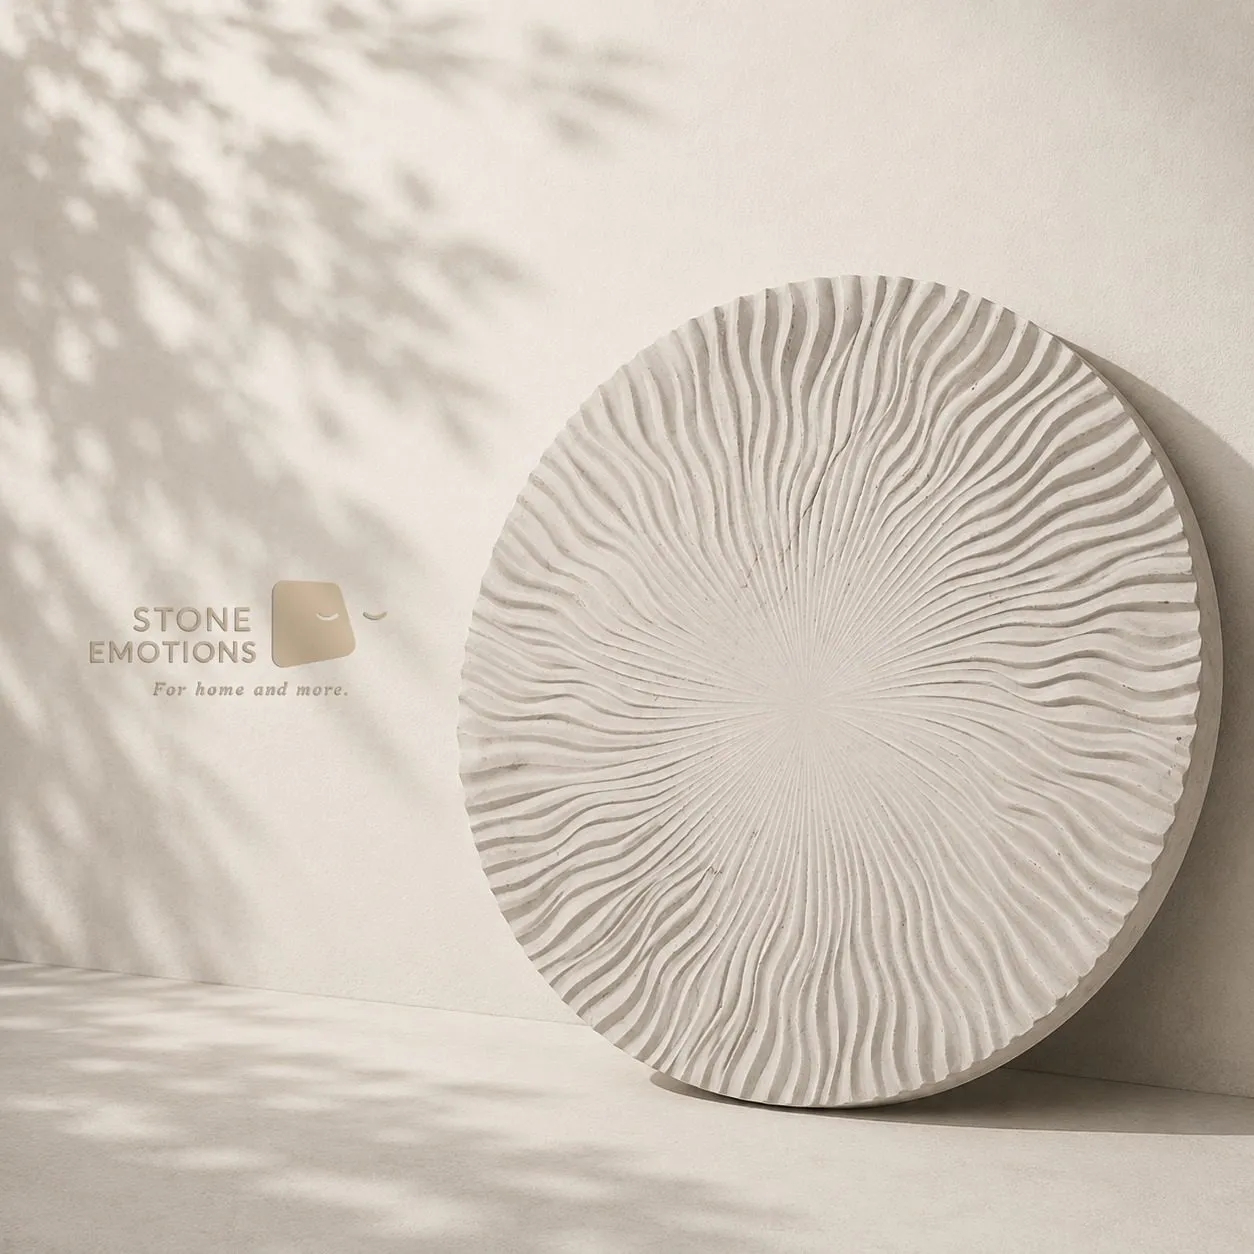
Inlay
Pieces of a different stone — coloured marble, semi-precious stone or contrasting sandstone — are cut and set into recesses in the base stone, flush or slightly raised. Inlay adds colour that carving alone cannot, as in peacock feathers or leaves.
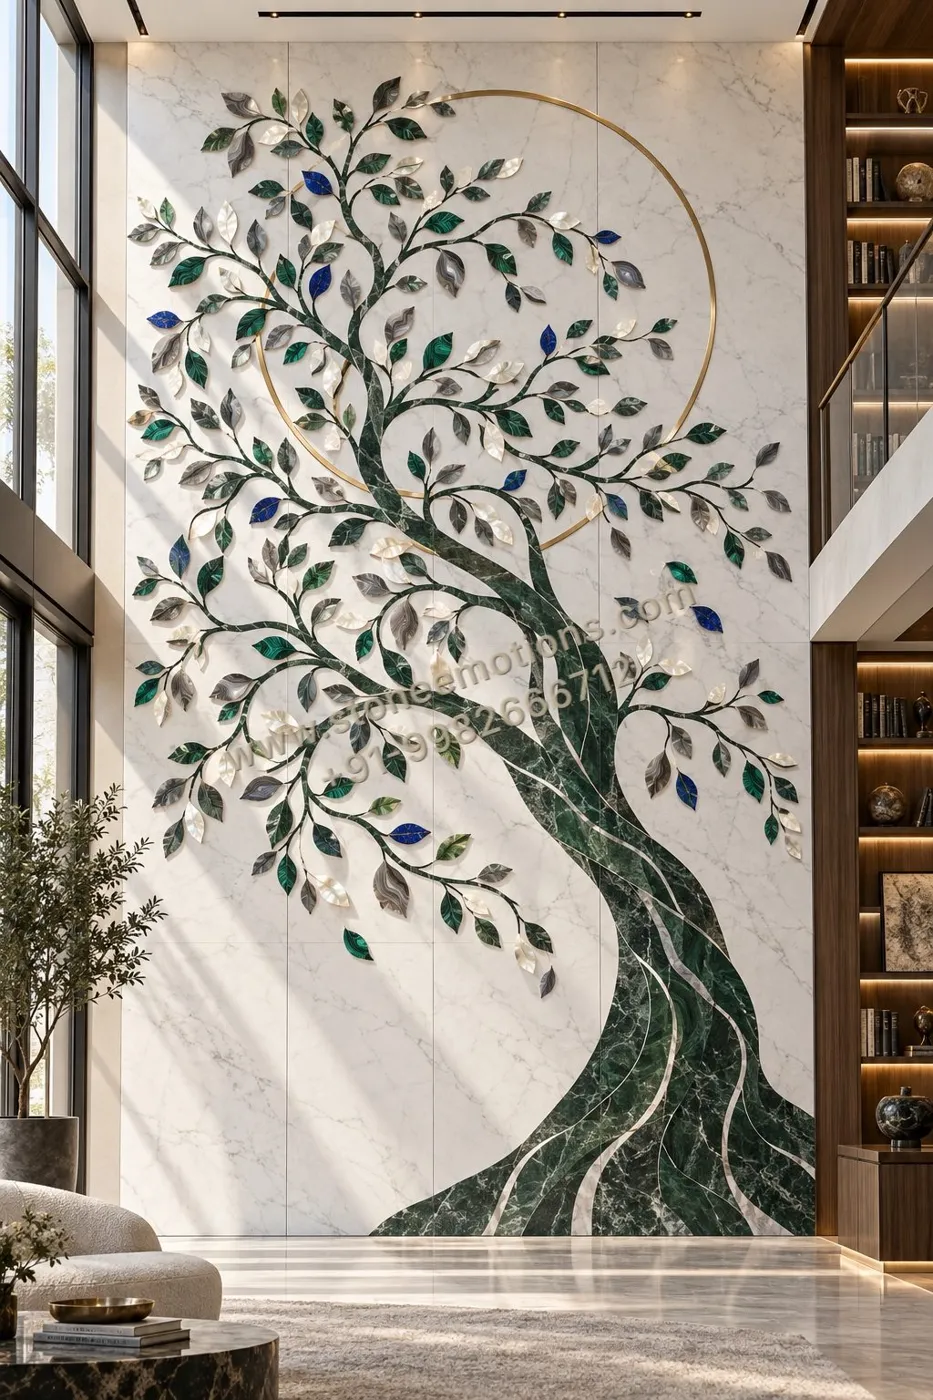
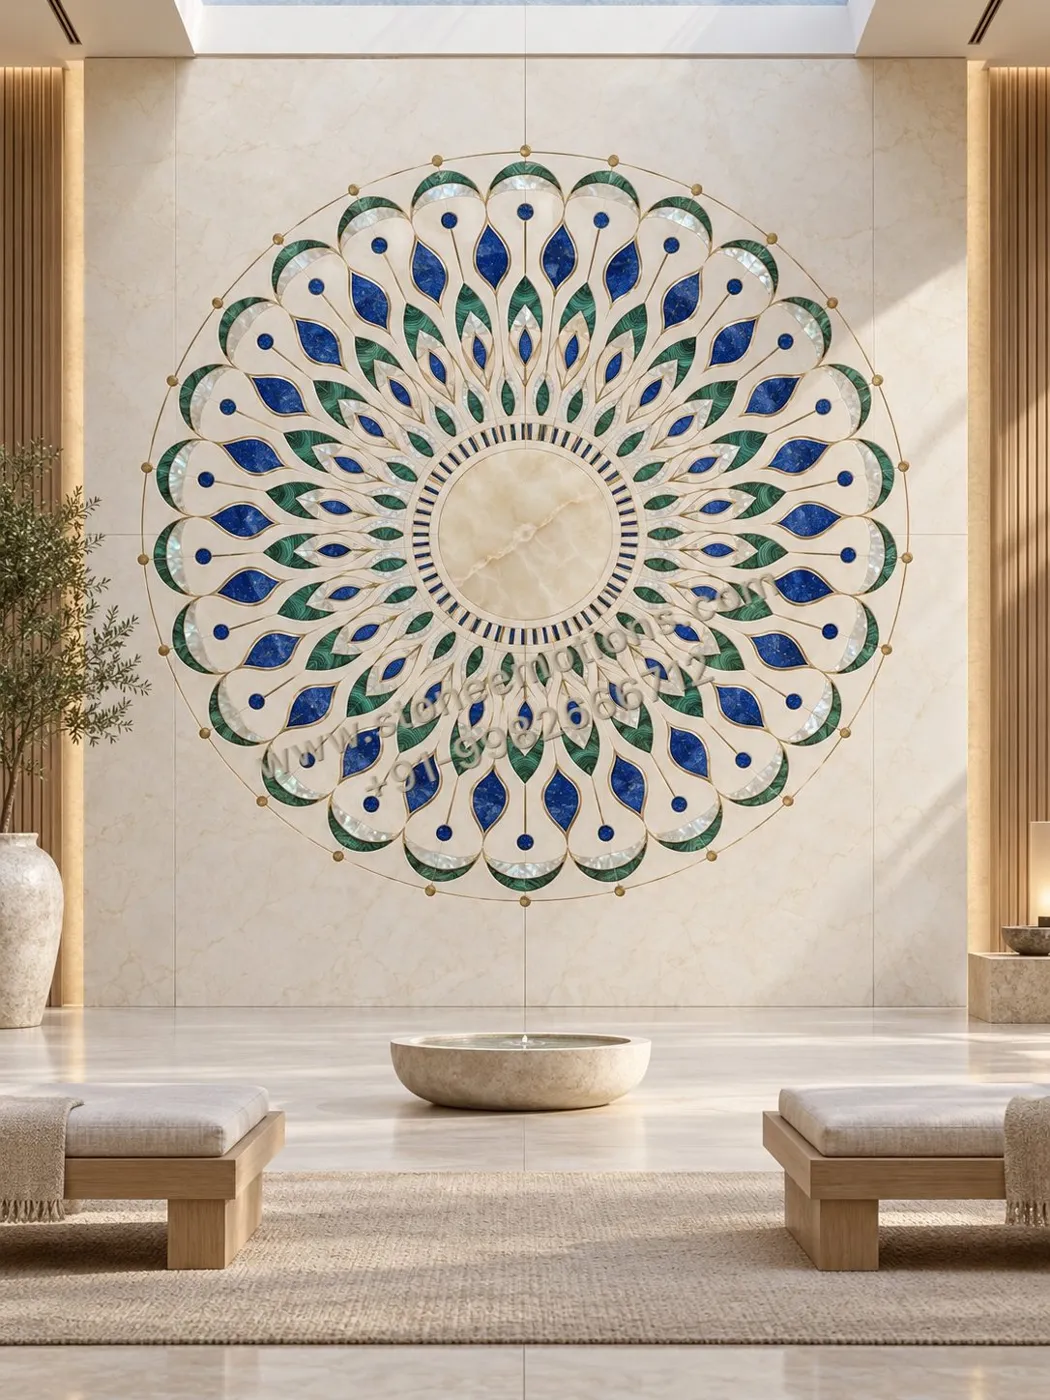
Comparison at a glance
| Technique | Depth | Best for | Light needed | Notes |
|---|---|---|---|---|
| Engraving | Shallow lines | Line art, script, subtle patterns | Side light to read | Keeps the wall calm; lowest stone thickness |
| CNC relief | Low to medium | Geometric, botanical, modular designs | Grazing light | Accurate repetition across panels |
| 3D carving | Medium to deep | Figures, faces, flowing sculptural forms | Works in most light; dramatic with grazing light | Thicker blanks, often hand-finished |
| Inlay | Flush or slightly raised | Colour accents, mandalas, florals | Even light | Material selection for colour match and durability |
Relief depth is project-specific and is set for the chosen stone and panel thickness.
Which stones carve well
Fine, even-grained stones hold detail best. Sandstones such as Gwalior White and Gwalior Mint are widely used for relief and 3D carving because they cut cleanly and their matt surface shows shadow well. White marbles take fine detail and smooth modelling, and suit figurative work and mandir backdrops; they are best indoors unless the variety is proven outside. Coarse or strongly layered stones are harder to carve finely and are better for textured cladding. Read more in sandstone vs marble for carved walls and on the Gwalior Mint sandstone murals page.
From design to panels
Large carved walls are made from several panels. The design is drawn to the real wall size, then divided into panels whose joints are planned around the composition — ideally along natural lines in the design rather than through a face or a focal flower. Our article on panel joints in double-height carved walls explains this in detail.
A carved sample of a representative area is the best way to approve depth, detail and finish before full production. For figurative designs, approving the drawing of faces and hands before carving is essential.
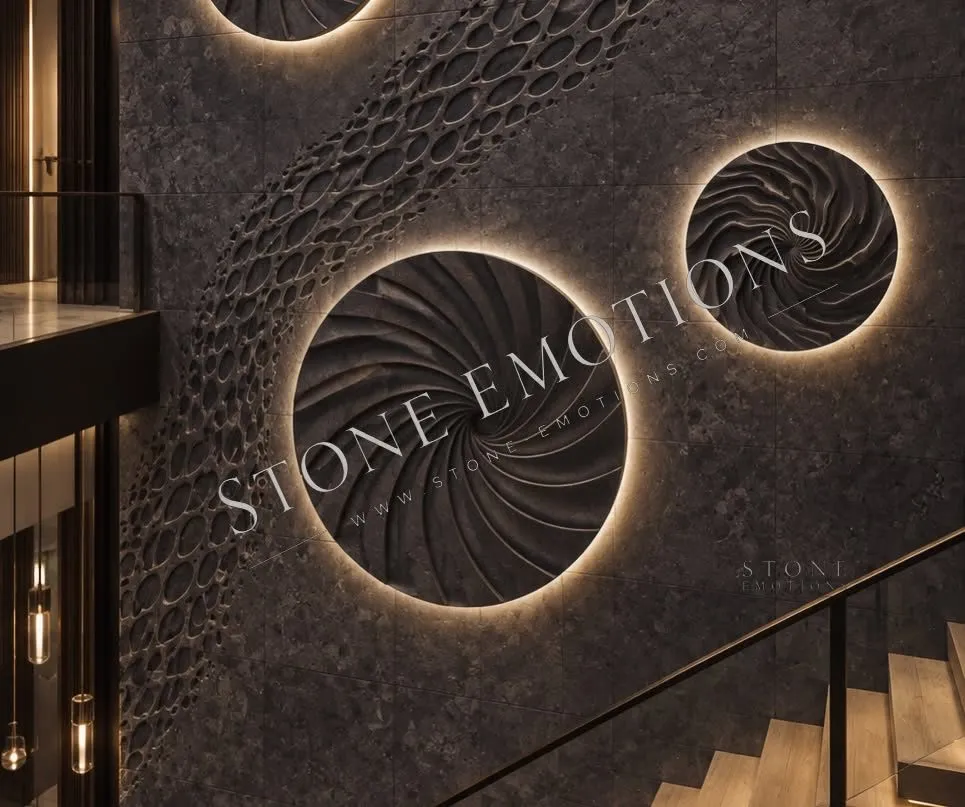
Lighting carved stone
Relief and engraving are made visible by shadow. Light that grazes the wall from above or the side reveals depth; flat frontal light flattens it. Warm light suits sandstone; slightly cooler light can suit white marble. Backlighting can be built into slots or around discs in some designs, which needs planning before carving. See lighting for carved stone relief walls.
Combining techniques on one wall
Many of the most successful carved walls combine techniques rather than using one throughout. A typical approach is a quiet field of engraved lines or shallow texture across most of the wall, with one area of deeper CNC relief or 3D carving as the focal point. This keeps the wall restful while still giving it a clear centre. Inlay can then add a single accent of colour — a lotus, a feather, a band of leaves — without overwhelming the stone.
Mixing techniques also helps with budget and time, because deep 3D carving and hand finishing take the longest. Placing the most intensive work only where it will be seen most closely, such as at eye level or beside a staircase landing, concentrates effort where it matters. When briefing, it helps to mark on a photograph of the wall where you want the strongest detail and where the stone should stay calm.
Finally, think about how the wall will age. Fine engraved lines and shallow relief stay crisp and are easy to dust; very deep undercuts collect dust and need occasional brushing. In family rooms, medium relief is usually the most practical balance between drama and everyday care.
What happens after you choose a design
Once a direction is chosen, the usual sequence is: check the wall dimensions on site; redraw the design to scale; agree the stone and finish from physical samples; approve a panel layout drawing with joint positions; approve a carved sample of a representative area; then production, packing and installation. For figurative work there is often an extra step where the face or key figure is approved as a drawing or digital model before carving. Each step is a chance to adjust depth, detail and proportion before it becomes expensive to change, so it is worth taking the approvals seriously rather than rushing to production.
How to brief a carved wall
- Wall width and height, and the viewing distance (sofa, staircase, entrance).
- The mood: geometric, botanical, figurative, abstract, heritage.
- Reference images, including design codes from our pages.
- Interior or exterior; nearby water or heat.
- Lighting already planned, or open to suggestion.
- Timeline for site readiness.
Our architect’s brief for custom stone walls lists everything a studio usually needs.
Explore: Custom CNC stone carving Stone wall murals Stone inlay work Carved & textured panels Divine figure reliefs