
Begin with the full room
Photograph the wall from the main seating position and from the entrance. Record its width and height, then mark the sofa, media unit, switches, doors and any services that share it. This gives the composition a clear architectural frame. A close-up of the stone alone cannot show whether a design will sit comfortably within the room.
Choose the kind of presence you want
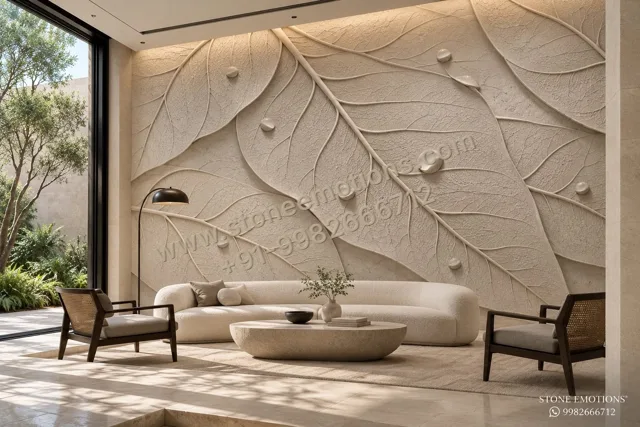
A living room wall can be a sculptural focal point or a quiet textural backdrop. Botanical carving, geometric relief, fluting and rock-face cladding create different effects. Use the gallery to select a small number of references, and explain which qualities you like: the motif, the shadow, the stone tone or the panel rhythm. These choices are more useful than asking for an image to be stretched to fit.
Develop the stone and lighting together
The material, finish and relief determine how the wall responds to light. Review a physical stone sample and discuss the intended wall washing before finalising the carving. Keep the design conversation connected to the room’s daylight and evening lighting; an image on a phone is not a colour or finish approval.
Resolve the practical interfaces
Panel divisions, skirting, joinery and electrical points belong in the design stage. A media wall also needs a coordinated plan for the screen, cables and equipment access. Your architect or site team should provide the relevant substrate and services information so manufacturing details can be reviewed against the real wall.
Send a brief that can become a quotation
Share the project city, wall dimensions with units, site photos, preferred references and project stage. Stone Emotions can then discuss material, design, panel layout and scope before preparing a project-specific quotation and timeline. An image without dimensions is a starting point, not a complete specification.
Continue planning your wall
For project-specific guidance, share your wall dimensions and a reference with our Udaipur team.